
Python 3.9.1 をWSL2に構築したubuntu20.04にインストールします。
WSL2のインストールからubuntu20.04を使用できるまでの手順は以下を参照して下さい。
本投稿は以下を参考に構築しております。

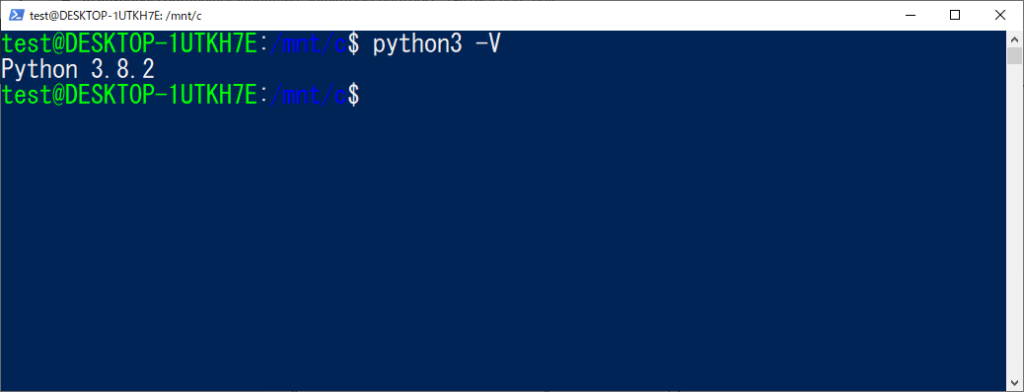
sudo apt-get install python3では、、、
デフォルトではPython3.8.2がインストール済みです。
sudo apt-get install python3ではPython3.8.5がインストールされます。
(sudo apt upgradeでも同様。)
最新Pythonがリポジトリに登録されていないようですので
Pythonのダウンロードページから3.9.1のソースをダウンロードしてUbuntuで
インストールしていこうと思います。
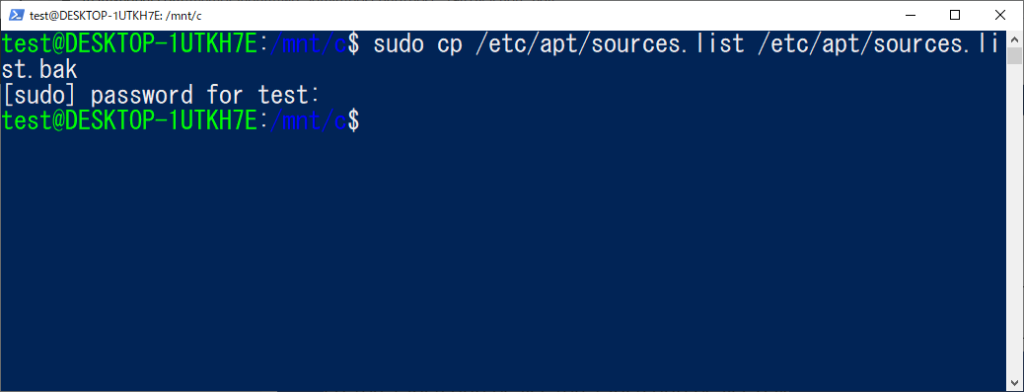
/etc/apt/sources.listの変更
設定ファイルを編集するのでバックアップを取得しておきましょう。
cp /etc/apt/sources.list /etc/apt/sources.list.bak
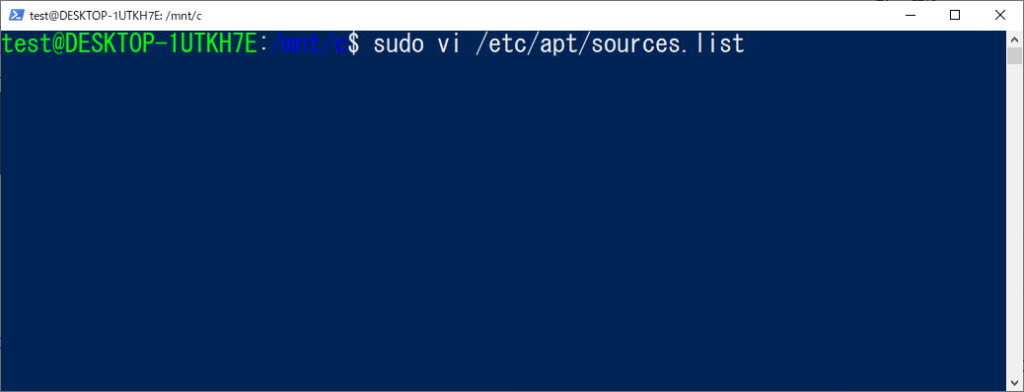
sources.listを編集します。
sudo vi /etc/apt/sources.list
vi画面にて以下を入力し、[Enter]を押下します。
:%s/# deb-src/deb-src/g
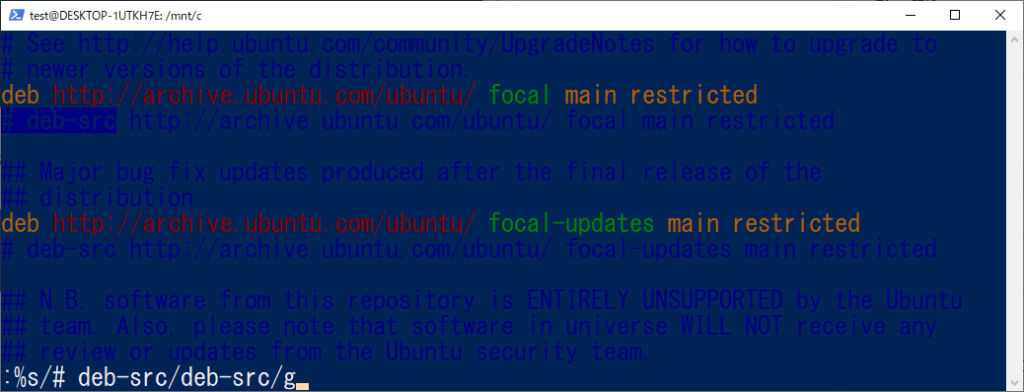
「● substitutions on ● lines」と下部にメッセージが表示されたら[:wq]で上書き保存します。

Python3.9の依存関係を解決する
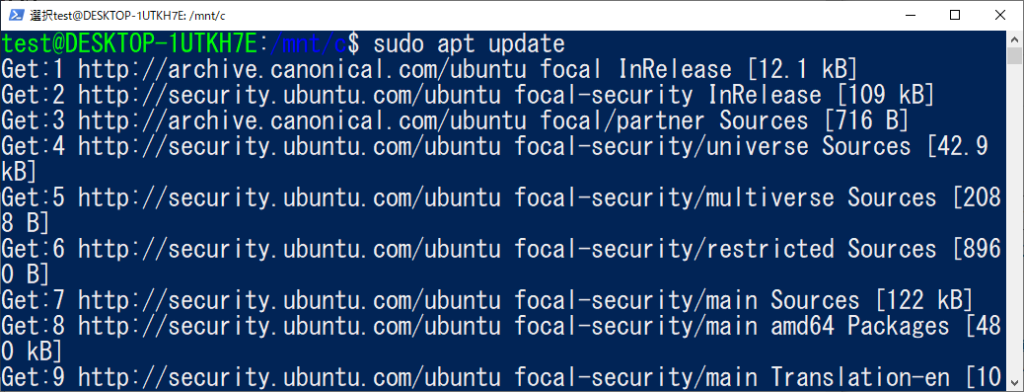
パッケージリストの更新を行います。
sudo apt update
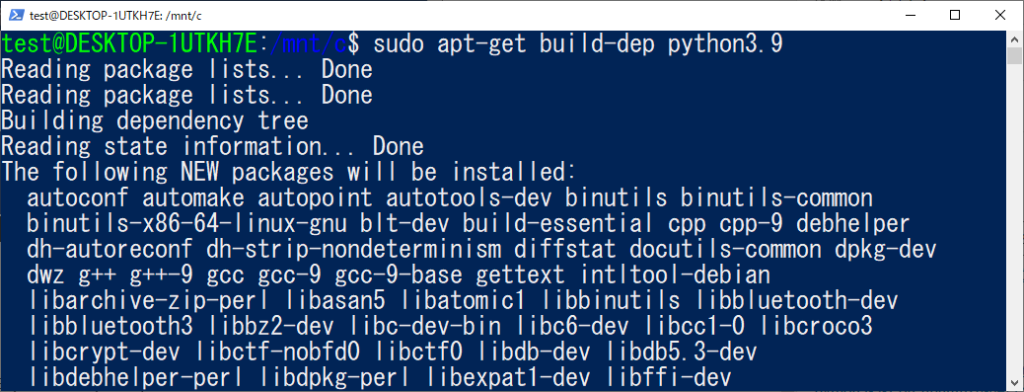
Python3.9の依存関係を解決します。
sudo apt-get build-dep python3.9
sources.listでdeb-srcはデフォルトでコメントアウトされているので
「sudo apt-get build-dep python3.9」を実行しても以下エラーで失敗します。
E: You must put some ‘deb-src’ URIs in your sources.list
もし、セキュリティの関係でsources.listを編集できない場合は以下のパッケージをsudo apt install後にインストールしてください。
sudo apt install build-essential libbz2-dev libdb-dev libreadline-dev libffi-dev libgdbm-dev liblzma-dev libncursesw5-dev libsqlite3-dev libssl-dev zlib1g-dev uuid-dev tk-dev
参考
必ずsources.listの編集または上のapt installで依存関係を解決してください。
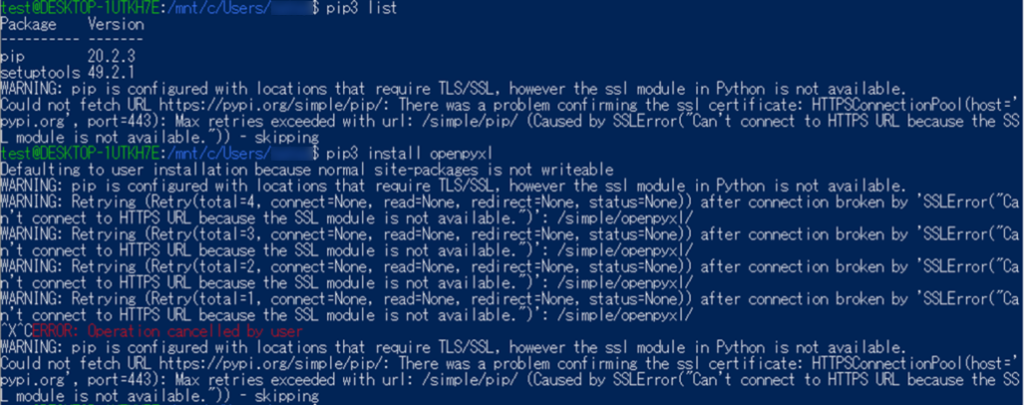
例えばlibssl-devをインストールしていないと
WARNIG: pip is configured with locations that require TLS/SSL, however the ssl module in Python is not available.
となり、pipコマンドが失敗します。
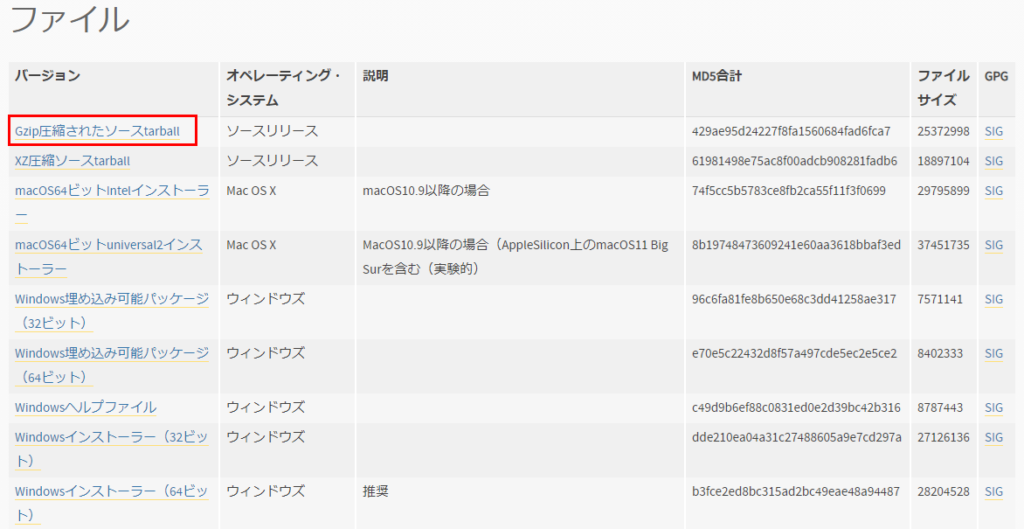
Python3.9.1のインストール
下記URLの下部にある「Gzip圧縮されたソースtarball」のリンクから
「Python-3.9.1.tgz」をダウンロードします。
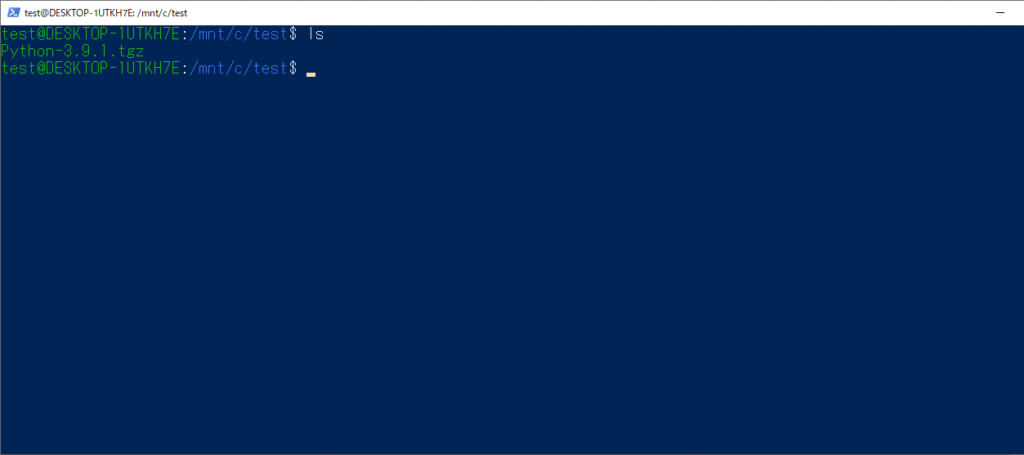
任意のフォルダに格納しておきます。
「Python-3.9.1.tgz」を解凍します。
sudo tar -xzvf Python-3.9.1.tgz
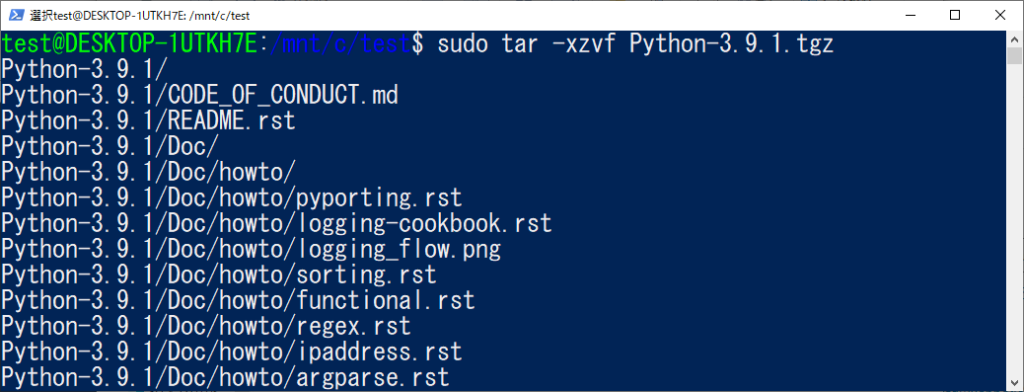
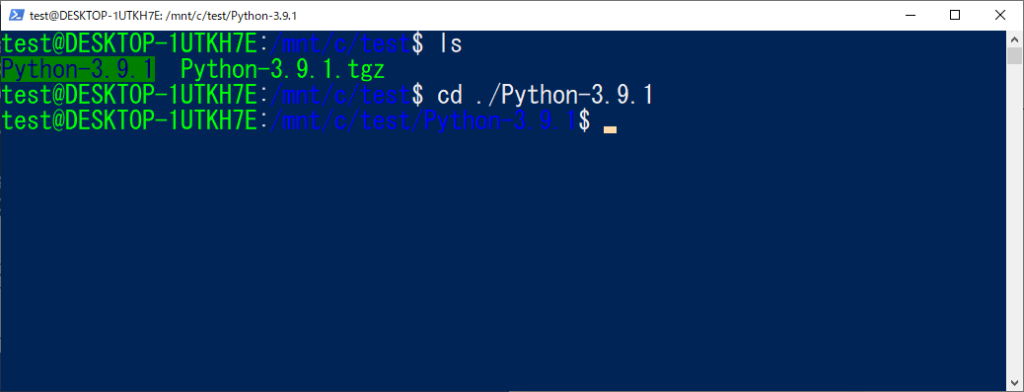
解凍が完了すると「Python-3.9.1」というフォルダが作成されるので
「Python-3.9.1」フォルダに移動します。
cd ./Python-3.9.1
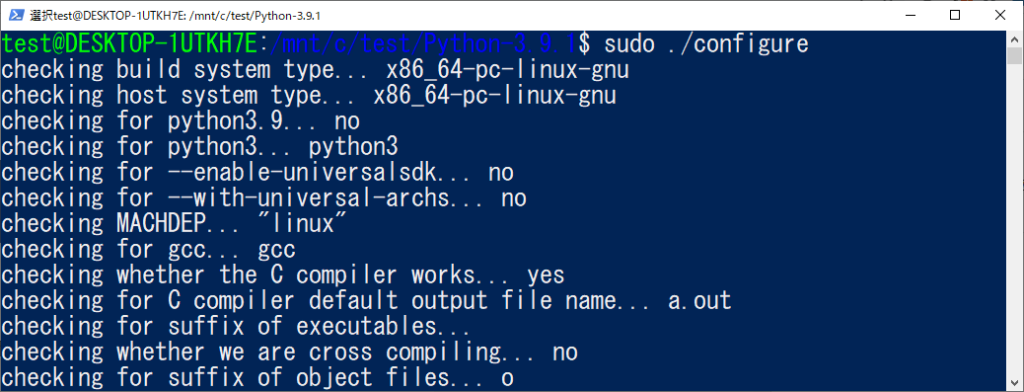
「configure」というファイルがあるので実行します。
sudo ./configure
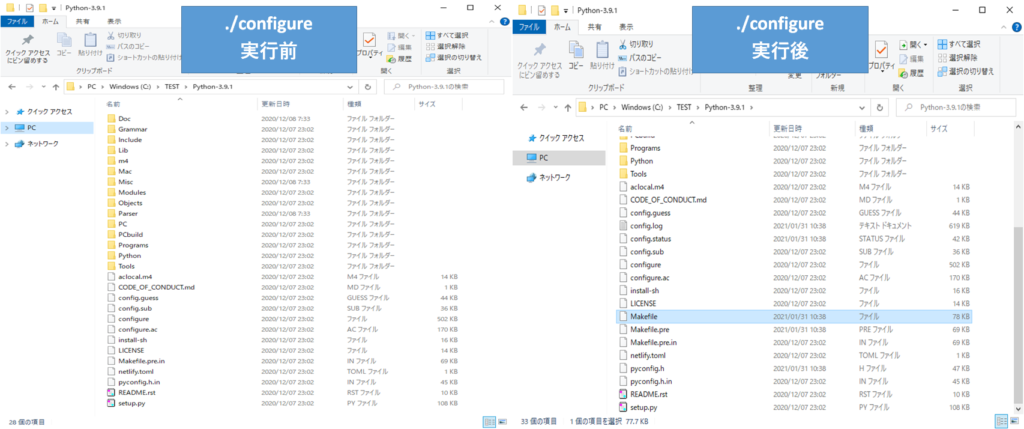
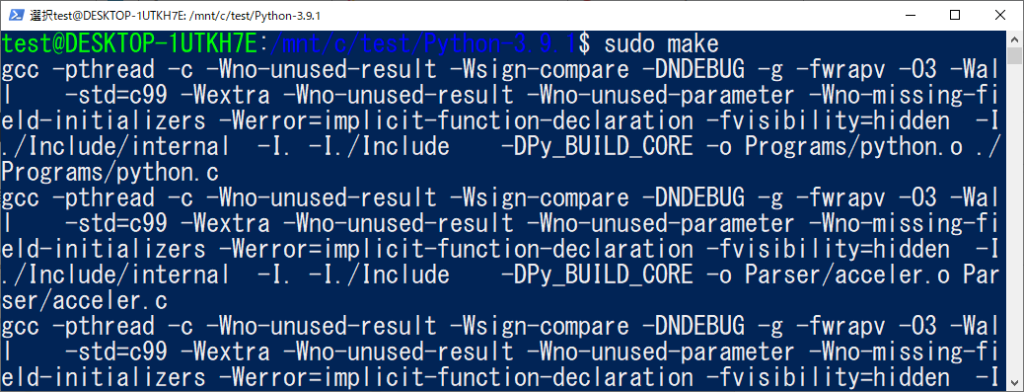
./configureを実行するとMakefileが作成されるので以下を実行します。
sudo make
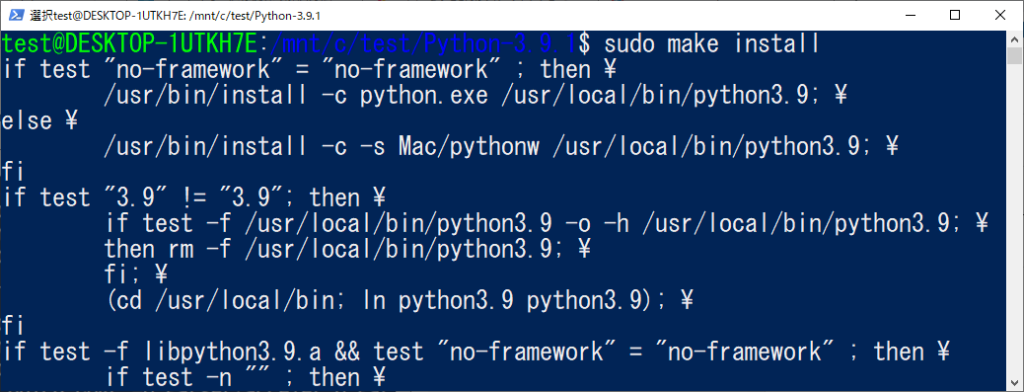
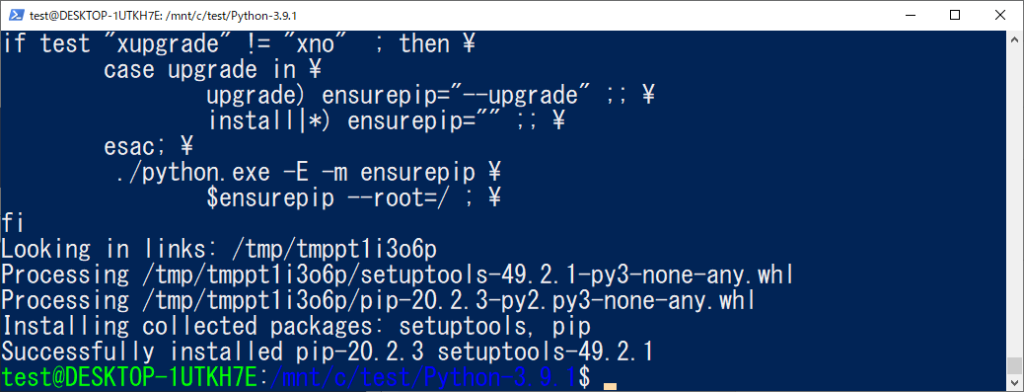
Python3.9.1をインストールします。
sudo make install
Python3.9.1がインストールされているか確認します。
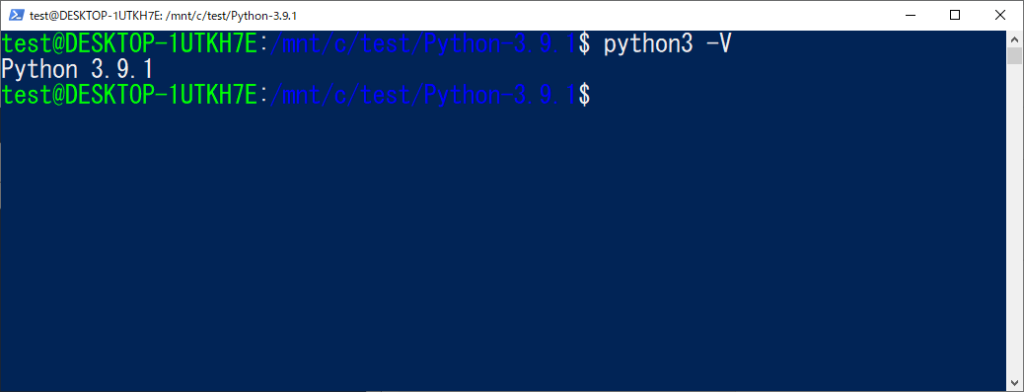
バージョンが変わっていないときはubuntuを再起動してみてください。
pipもアップグレードしておきます。
pip3 install –upgrade pip
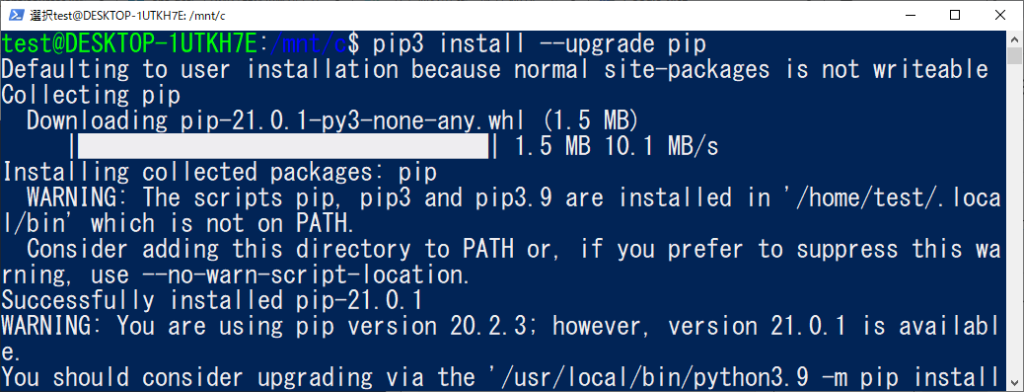
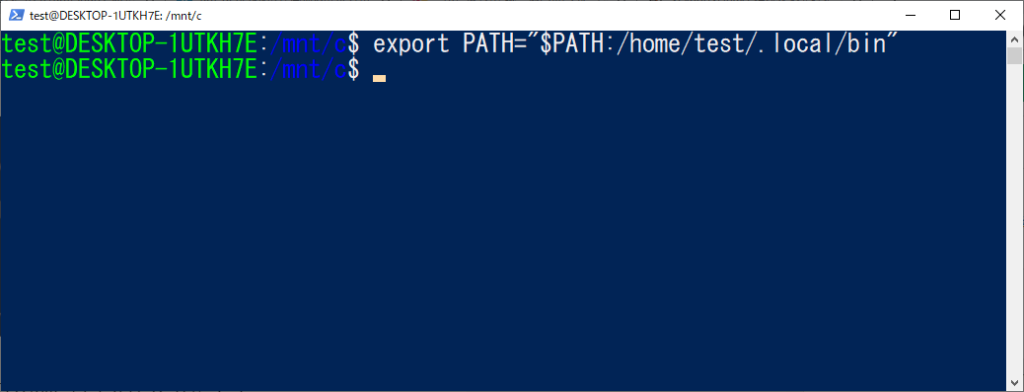
以下メッセージの通りpipがインストールされたPATHが通っていないとのことで
WARNING: The scripts pip, pip3 and pip3.9 are installed in ‘/home/test/.local/bin’ which is not on PATH.
環境変数を設定します。
export PATH=”$PATH:/home/test/.local/bin”
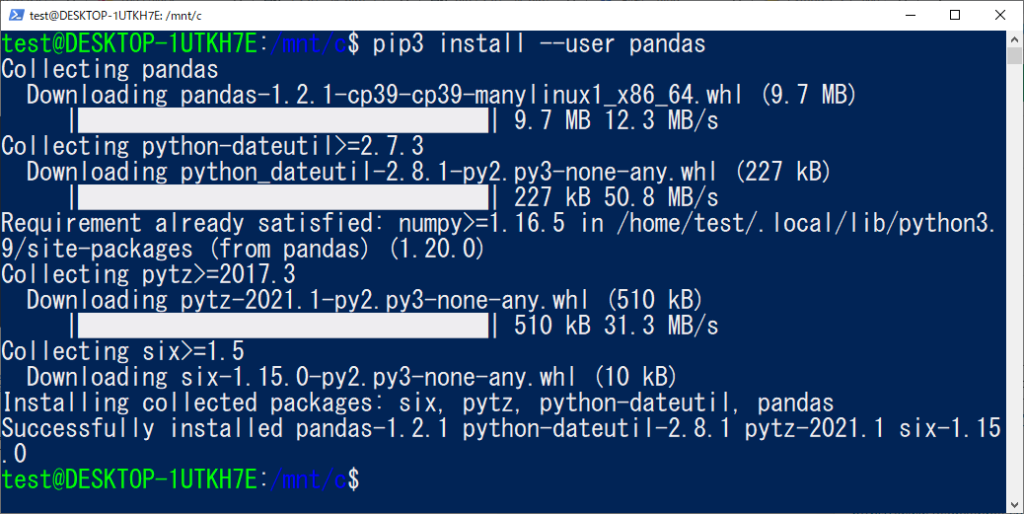
適当なパッケージをインストールしてエラーが解消されたか試します。
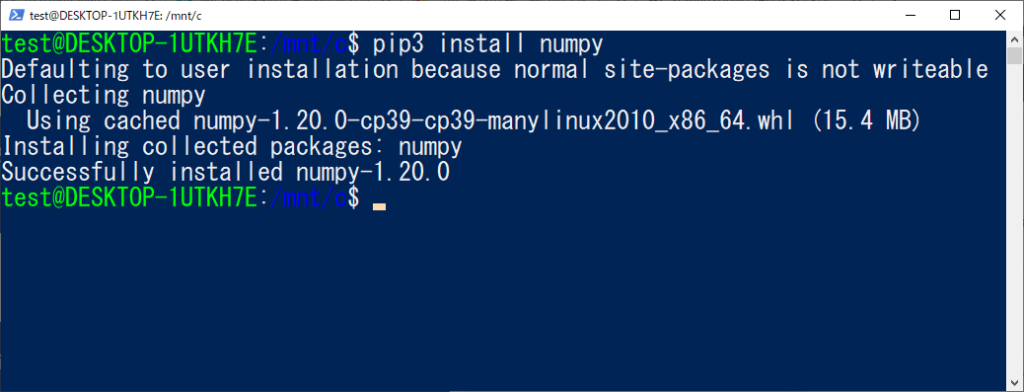
Defaulting to user installation because normal site-packages is not writeable
pipコマンドを実行したユーザーが
ユーザーインストールしかできないことを表すメッセージです。

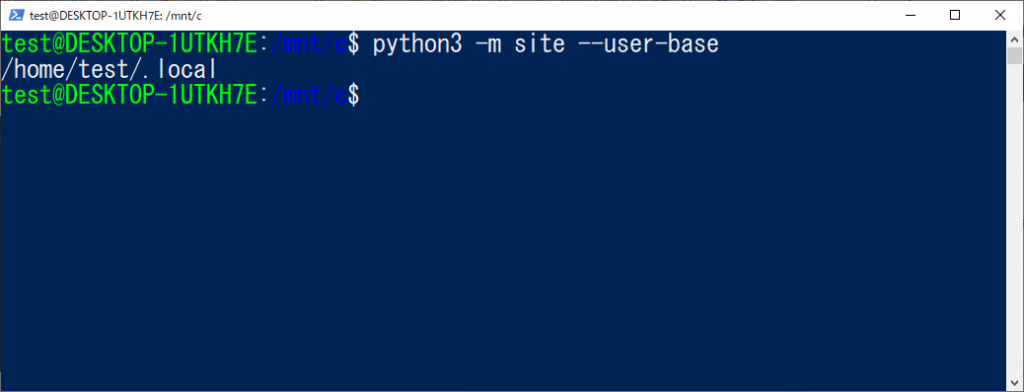
インストールのベースディレクトリは以下で確認することができ、
エラーがないようであれば無視しても問題なさそうです。
python3 -m site –user-base
Defaulting to user installation because normal site-packages is not writeable
が気になるようでしたら–userを明記してインストールしてあげると
上記メッセージは出力されません。
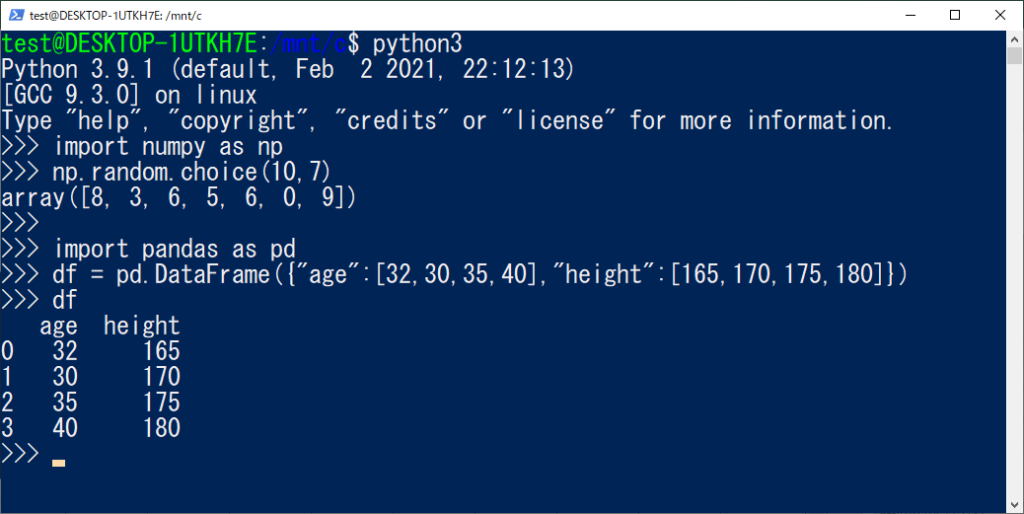
下記の通り、importも無事に動作しました。

コメント